
A lot of the work of finishing your podcast once you’ve recorded it is making it sound better without the audience ever realizing you’ve changed anything. Natural-sounding podcast audio from outlets like NPR and Gimlet Media is anything but natural. To get a great podcast sound, you need to use processing tools like compressors. Today we’re explaining what compression is, why it’s important for creators to use it in every podcast episode, and how to apply it to your podcast.
What Compression is
Compression is what it sounds like: it’s a tool that compresses your audio so that it has a smaller dynamic range. With compression, your podcast’s loudest sounds are pulled closer to its quietest sounds, as measured by dB. The human voice has a large range, and compressors help us prepare our podcast audio so that listening to that range of sounds, everything from whispering to people laughing, is an enjoyable experience.
There are a number of settings in a compressor plugin that we’ll go through in moment, but first let’s look at why we must have compression in our podcast audio.
Why you need Compression on your podcast
Compression is essential for having a professional-sounding podcast, which in turn will get you more listeners.
Let’s think about what a podcast that doesn’t use compression might sound like. Perhaps you run a weekly interview podcast, where you interview a business expert for an hour about their work and industry knowledge. If that person isn’t a trained radio personality (and they likely won’t be), they might not remember to avoid laughing into their microphone. They also might forget to stay in front of the mic at all times when they’re talking. In post production, you’ll see the waveform get huge at the points of laughter (and in some cases you’ll see the waveform “clip” at the top and create distortion), and at other points the audio will look tiny. Maybe you add some EQ to your mix, and then you post the episode.
A listener consuming your podcast in a car might hear this audio and jump to turn down the volume. For a listener listening to the podcast with high-quality headphones, the difference in volume at different parts may be unpleasant enough that they stop listening to your episode. Compression is crucial for achieving a consistent, pleasant sound, one that doesn’t have surprising jumps in volume.
How to use Compression
Let’s dig into how we should use compressors. The plugins we call compressors, like equalizers, look different depending on their make and how complex of a plugin they’re meant to be. Here are a couple options you might see:
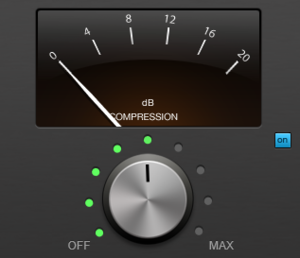
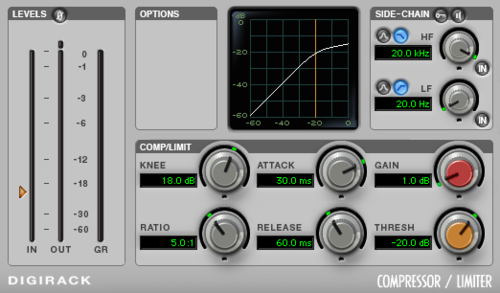
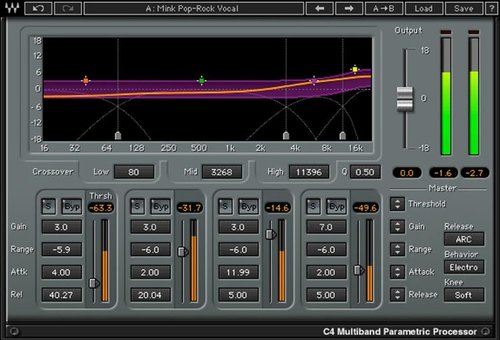
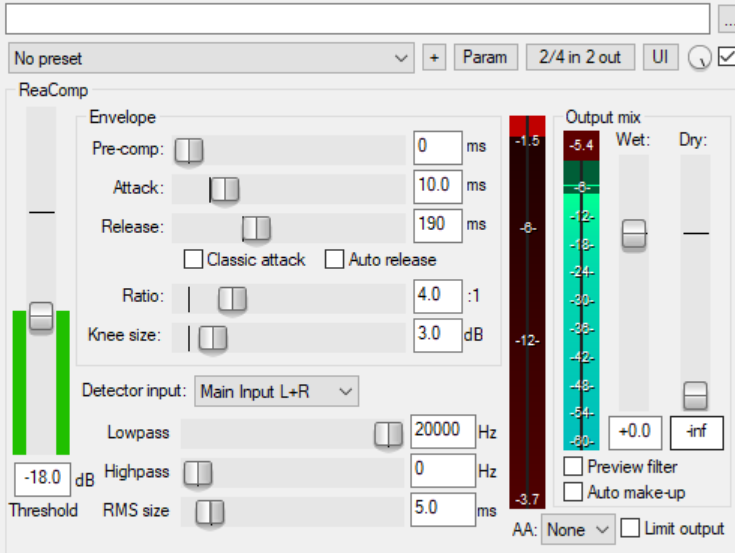
With each of these, the UI and how we adjust our compression settings is different, but the fundamental effect is the same. Compressors also share a near-universal set of terms to describe the settings available to us. Let’s use the stock compressor known as ReaComp in our DAW, REAPER:
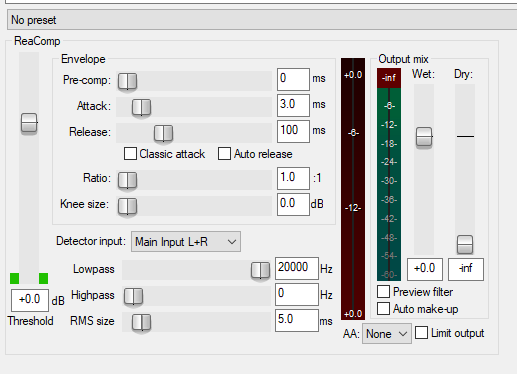
Here are terms you’ll see in almost any compressor plugin you come across, in order of importance:
Threshold: This is the volume level at which the compressor starts kicking in. If you want a more active compressor, make this lower. If you feel it’s making your sound too muffled or strained, raise it. -16 dB is usually a good starting place, or around -10 dB if your signal is already quite loud.
Ratio: Ratio is one of the two main settings, along with Threshold, that determines how strongly your compressor reacts to hot sounds. Ratios are written like 3:1, which can be read as “for every 3 dB that the signal is above the Threshold, the output will only go 1 dB above the Threshold.” We can think of ratio as a sort of lasso, pulling back the sound as it goes above our Threshold, but not entirely stopping it from going over. A good range for Ratio is between 3:1 and 5:1, but it may take some trial and error to get right.
Makeup Gain: It can be helpful to add back in some gain to your podcast audio after reducing the louder sounds (and therefore lowering the average dB level of your podcast). You can also choose to add gain to the Dry mix (the sound before it’s processed) or the Wet mix (after compression), but here we’re adding it on the Wet mix. You can boost makeup gain by 4-6 dB, but pay close attention to the resulting sound and whether you’re hitting the sweet spot of -12 to -6 db.
Attack: Attack refers to how quickly the compressor turns on once the audio signal breaches the Threshold, measured in milliseconds. An Attack that’s too low might over-react to momentary jumps in sound, while an Attack that’s too high might miss the first parts of louder sounds as they come up. 10ms is a common Attack time to start with.
Release: Release is the opposite of Attack; it’s how long it takes the compressor to stop acting on the signal once it falls below the Threshold, measured in milliseconds. In contrast to Attack, a Release that’s too low might turn the compressor off too quickly and miss some louder sounds, while a Release that’s too high will keep the compressor on too long and start compressing quieter sounds that occur after loud sounds. 190ms is a good start for a Release.
Knee: Knee describes how gradually the compressor kicks in as the signal approaches the Threshold. Expressed either as a dB measurement or a binary choice between “Soft” and “Hard”. Choose a soft knee or between 3-10 dB (higher makes for a more gradual compressor).
Testing your Compression Settings
Now you’ve set your compressor to the above settings, how do you make sure it’s working and giving you the sound you want? Well, it takes a bit of trial and error. First off, you can simply listen to a section of your podcast and listen for the compressor. If you can hear voices being muffled or obviously pulled back, then your compression settings are too high. We always want compression to be an invisible tool improving our sound. Try listening to your audio with the compressor on, and then “bypass” the compressor and listen to your raw audio. Compare the two sounds to see if your compressor is creating a pleasing sound without having an overwhelming impact on the audio.
You can also play audio and observe the compressor visually as it works. In ReaComp, we’ll often play our podcast audio and watch the red meter, which shows how much the sound is being reduced:
Two things to keep in mind as you monitor your compressor:
- Your compressor doesn’t always need to be working. If the red bar is lighting up constantly, then your compression settings might be too drastic and you should adjust either the Threshold or Ratio.
- Similarly, if your compressor is reducing by 5 dB or more all the time, then your compressor settings are too high. Compression of -5 dB or more is usually only for transient sounds, like a loud laugh or something hitting a table. In normal speech you shouldn’t see your compressor working that hard.
Further reading on Compression
- This Podcast Method conversation between 5by5 podcaster Dan Benjamin and sound engineer Jim Metzendorf about compression in podcasts (compression discussion starts at 44:30)
- “Basics: Processing”, an older but still relevant Transom guide to post processing tools, including compression.